Skip to Main Content
Using a Digital Audio Workstation (DAW)
- Audacity is a free to use open source Digital Audio Workstation (or 'DAW'). It's a great option for people trying audio recording for the first time while still being effective enough for use by those with more experience. You can download the most recent version of Audacity here.
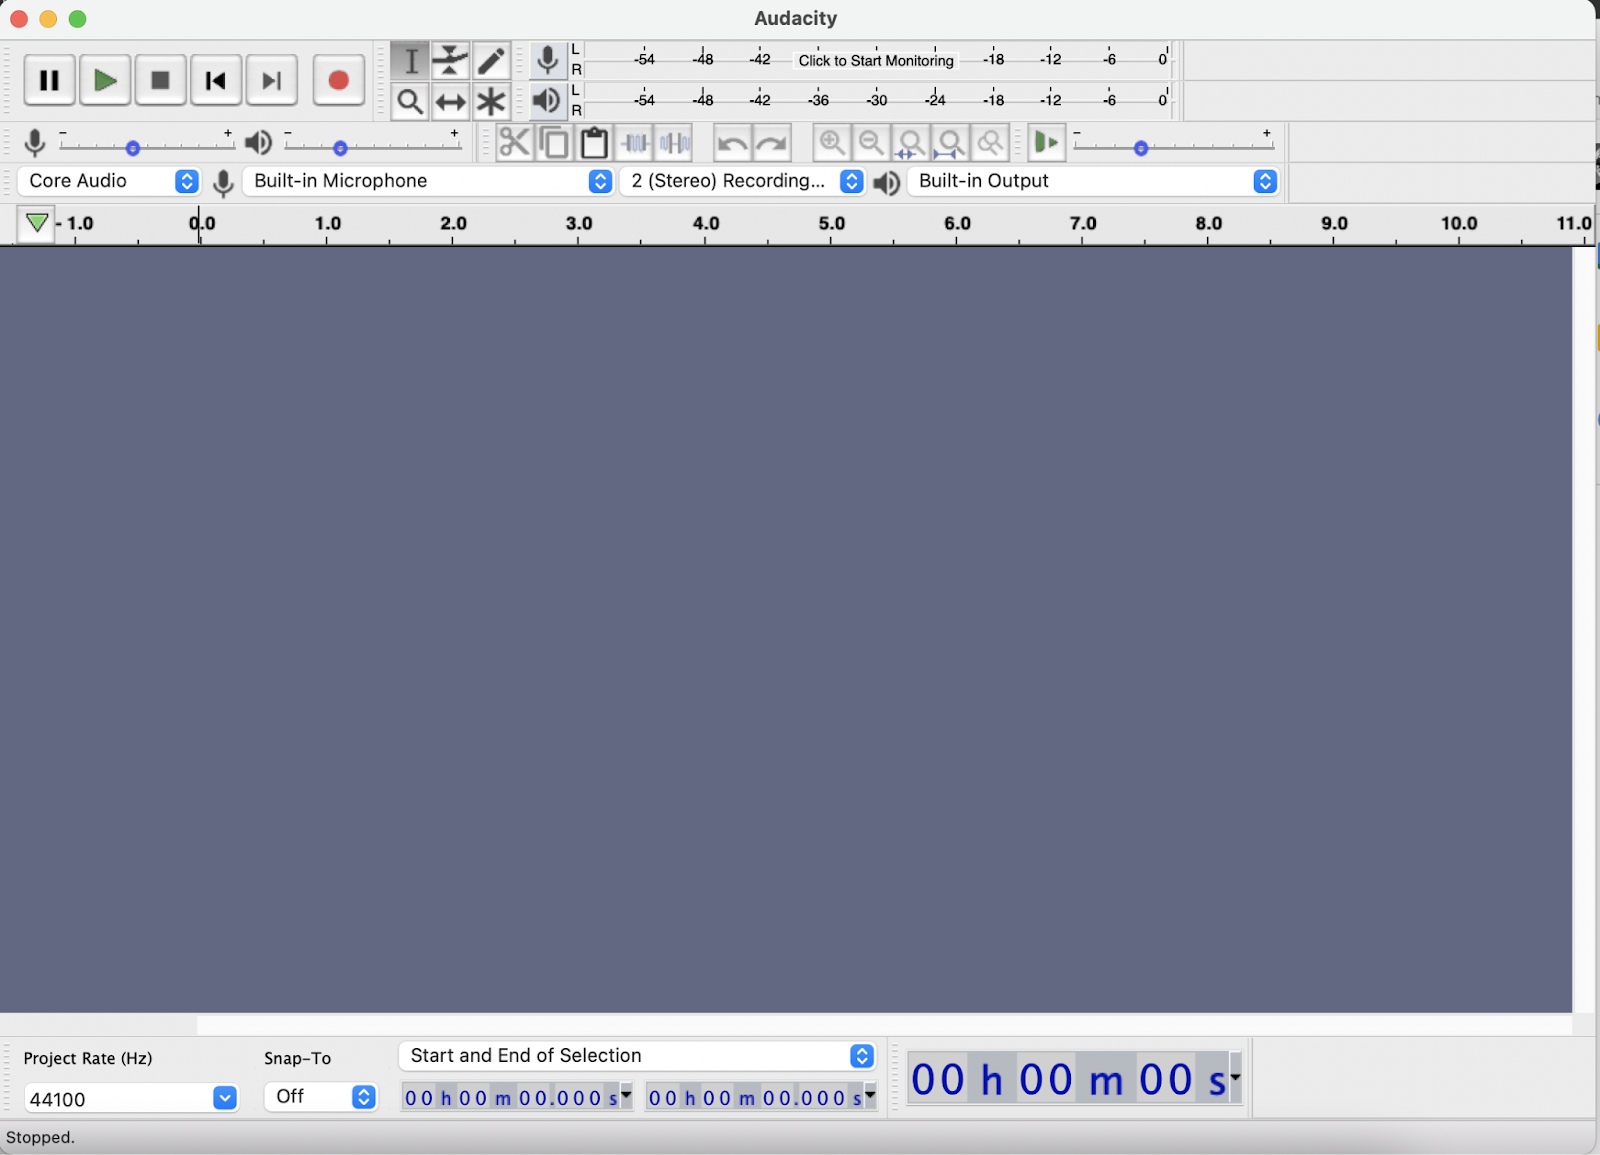
- Once installed, open a new project in Audacity. You may be prompted to select an input device, if so select the External Mic option. If you are not prompted, double check to make sure you will be recording audio from the correct device--you can do this by using the drop down menu near the Microphone icon beneath the playback settings.

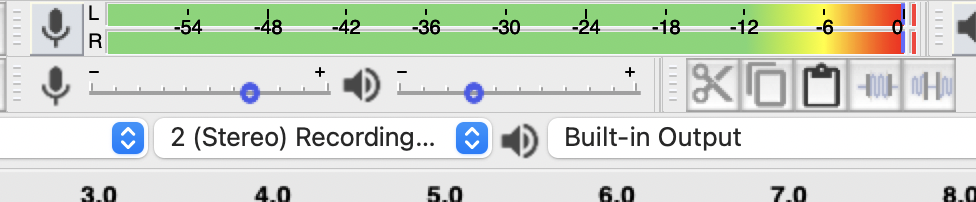
- Check your levels! Audacity will monitor your input levels as you record, this tells you how loud the audio you are recording is and whether or not it will be distorted because it is too loud. Speak at the level you intend to for your recording--if you will be shouting, shout! If you will be whispering, whisper. You want to make sure that all the audio you record is audible but not distorted from the volume. The green and yellow bars that display your input levels should be reaching into the mid/upper range. Just getting into the yellow is OK, but hitting the red is a no go. If you are conducting an interview, make sure that you check your levels as well as the levels of your interviewee!
- Once your levels are set, you are good to record--almost! Before you being, make sure that any sources of unwanted noise or interruption are turned off, set to silent, or removed from the room.
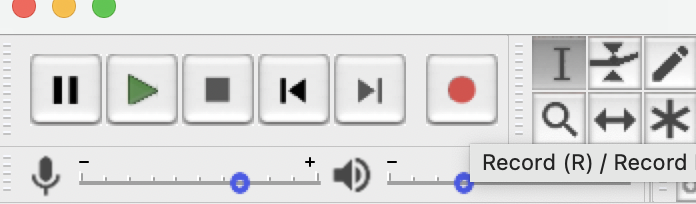
- NOW you are good to record! So go ahead and click that big red circle and you’re off! When you have finished, press the square Stop button to end the recording.
- Now that you have recorded your first take, listen back to it. As you are listening, try to pick out what works and what does not--are things louder or quieter than you expected? Is there a source of interference you didn't notice previously? Take time to diagnose and troubleshoot any issues you may encounter and then record again until you have everything that you need!
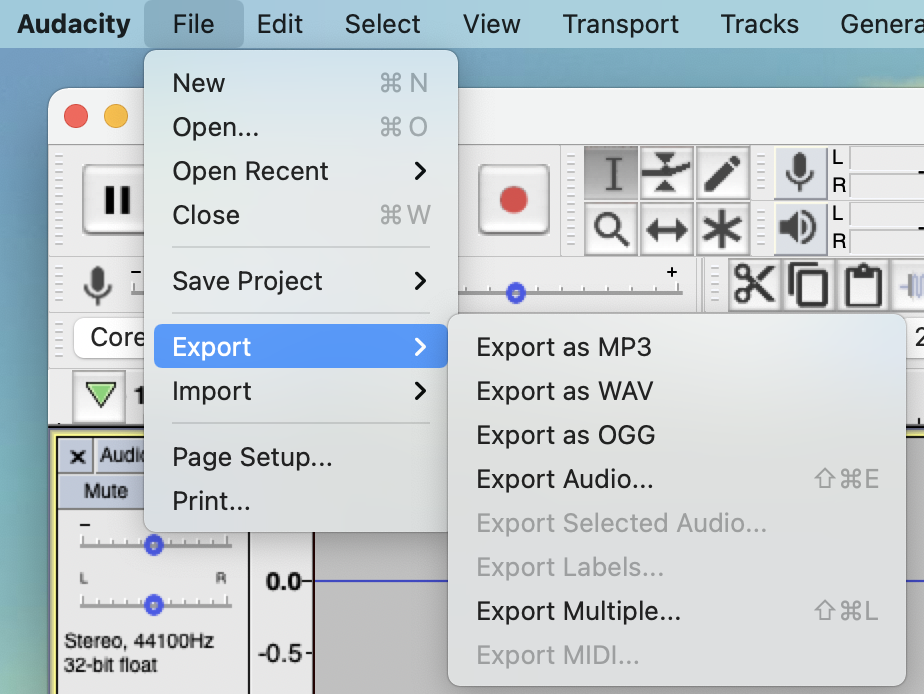
- When you are ready to export your file, go to ‘File’, then ‘Export’, and select the format you would like to export as--you will most likely want to use either 'Export to MP3' or 'Export to WAVE'.
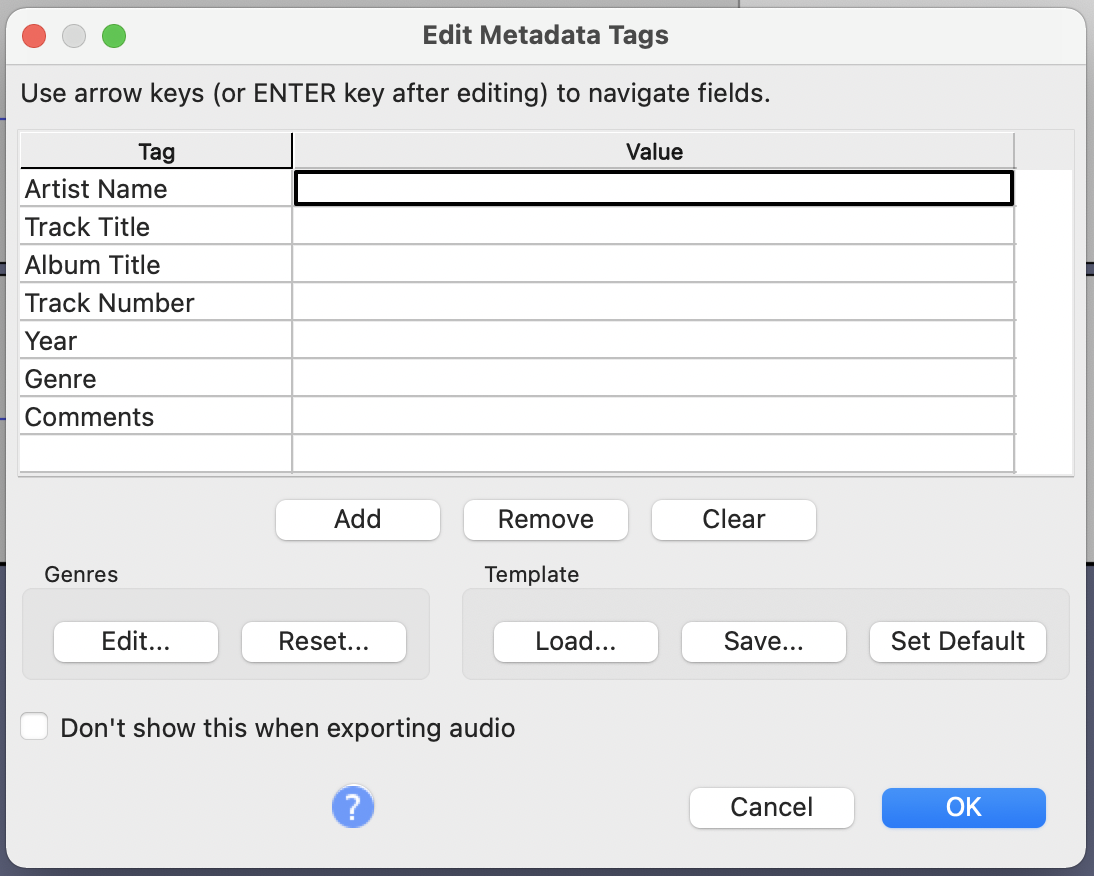
- Name your audio and select the location you will be exporting to, then save. Audacity will next prompt you to include Metadata for your audio (Artist, Album, Etc) you are welcome to include any information you deem pertinent, but you are just as welcome to leave those fields blank. Click 'OK' and you are all set.
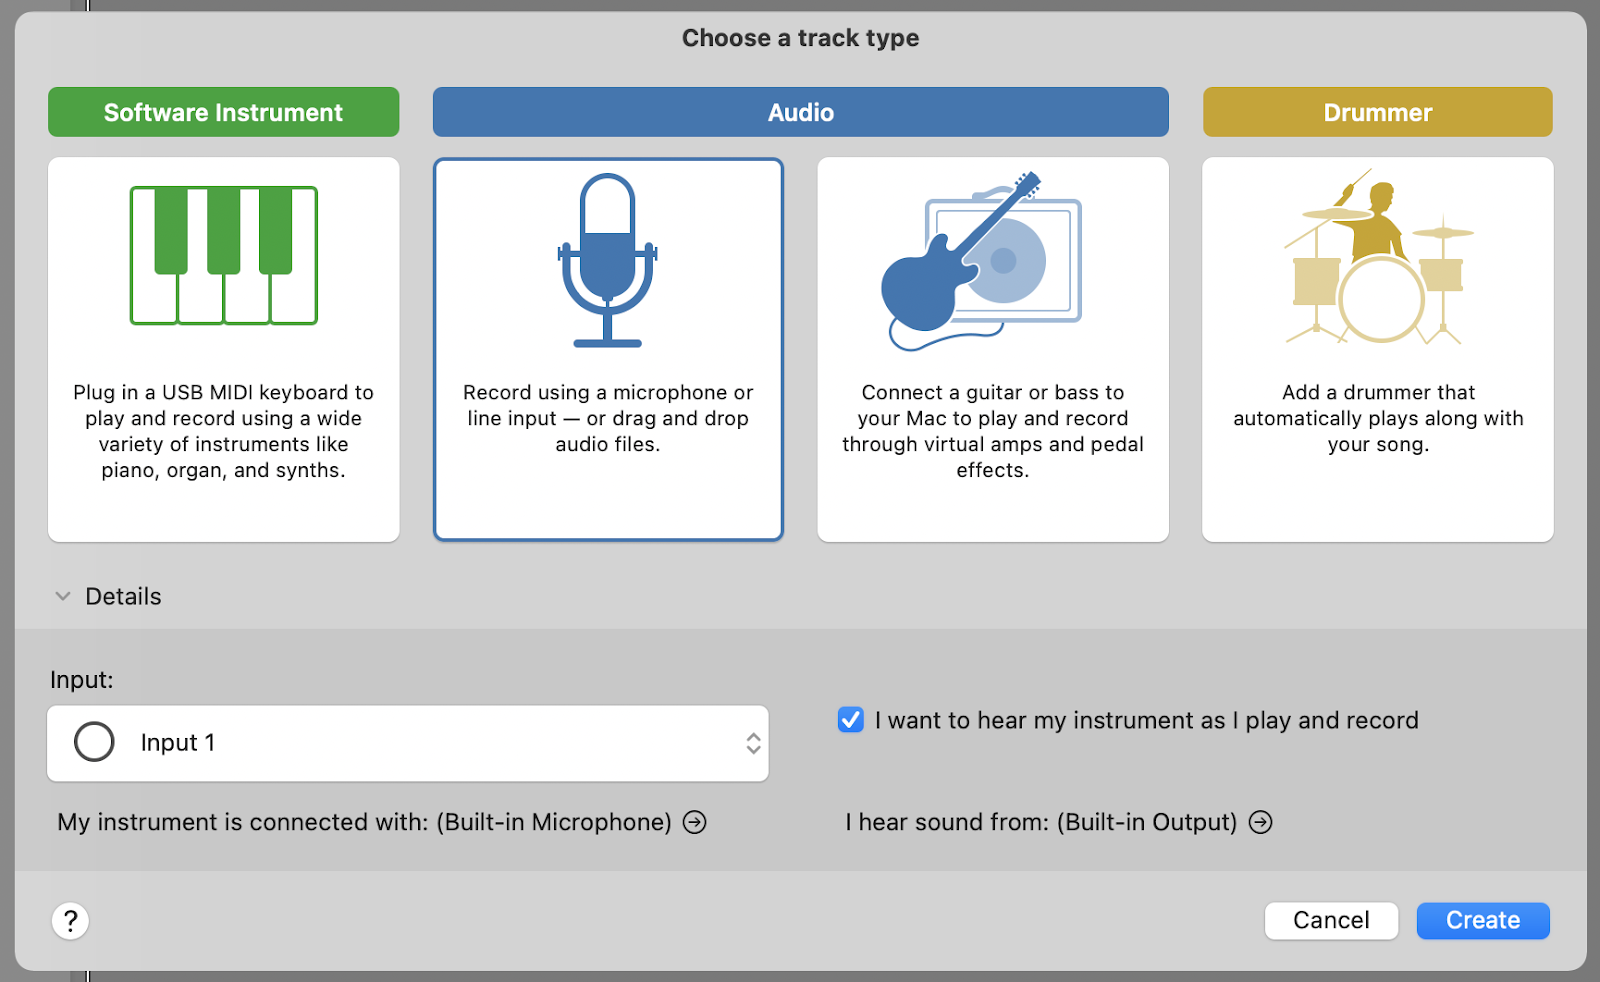
- Once you have your recording space set up, open GarageBand and start a new project. You may be prompted to select an input device, be sure to select the appropriate option.
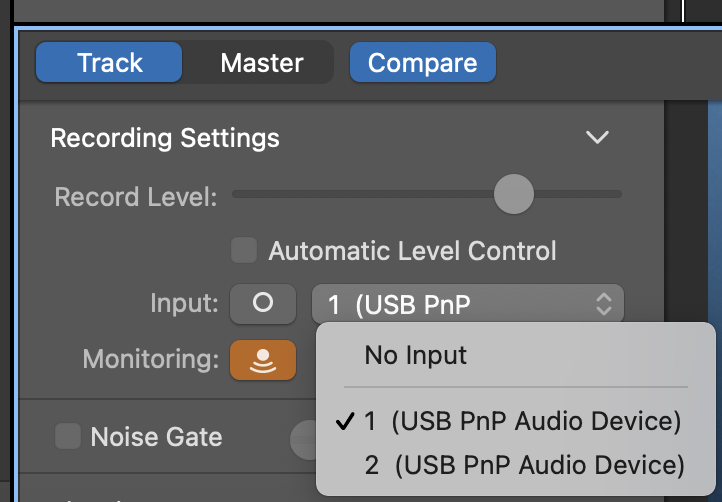
- If you are not prompted, double check to make sure you will be recording audio from the correct device. The input device option is found in the Recording Settings section for each track.
- Next, it's time to check your levels! GarageBand will monitor your input levels as you record, this tells you how loud the audio you are recording is and whether or not it will be distorted because it is too loud. Speak at the level you intend to for your recording--if you will be shouting, shout! If you will be whispering, whisper. You want to make sure that all the audio you record is audible but not distorted from the volume. The green and yellow bars that display your input levels should be reaching into the mid/upper range. Just getting into the yellow is OK, but hitting the red is a no go.
- If you are conducting an interview, make sure that you check your levels as well as the levels of your interviewee!

- Once your levels are set, you are good to record--almost! Before you hit that record button, it's good practice to double check that any sources of unwanted noise or interruption are turned off, set to silent, or removed from the room. If you are not recording music or just have no need for it, check to make sure that the Metronome and Count In functions are turned OFF.
- NOW you are good to record! So go ahead, click that big red circle and you’re off! When you have finished recording a take, press the square Stop button to end the recording.

- Now that you have recorded your first take, listen back to it. As you are listening, try to pick out what works and what does not--are things louder or quieter than you expected? Is there a source of interference you didn't notice previously? Take time to diagnose and troubleshoot any issues you may encounter and then record again until you have everything that you need!
- When you are ready to export your recording, go to ‘Share’ and select ‘Export Song to Disc’. Name your audio and select the location you will be exporting to. You can also select the format to export your file as, you will most likely want to use either MP3 or WAVE formats.


