How To
Button, button, who’s got the button?
Buttons can be a great way to express yourself and your interests, they can also be an excellent item to promote your organization or event! Stop by the Innovation lab, where we have a 2.25 inch button maker available for you to flex your creative muscles on!
But first, in order to make a fantastic button you need to make a fantastic design!
DESIGN
You can download a template to make sure that your design will fit properly on the face of a button Here.
Each circle on the template outlines a different part of the button--the most important circles to keep in mind while working on your design are the Face Line and the Cut Line. The Face Line outlines the area of your design that will appear on the, you guessed it, face of the button. Any design elements you want to be visible should be within the Face Line.

The Cut Line marks the extra paper that gets folded between the button’s faceplate and pinback to hold your design in place. It can be helpful to have the space between the Face Line and the Cut Line match the colors around the edge of your design to prevent any unwanted whitespace from potentially appearing on your finished button--but it is not necessary.
If you are designing a button for a group or an event, you might consider including some information around the perimeter of the button. The perimeter is not a highly visible part of the button, but it is a great place to put a web or email address! If you would like to include any perimeter text, place it between the Outer and Inner Perimeter Lines.
We encourage you to try simple designs at first--it is really easy to overindulge and create a design that won’t translate very well to a physical product, like the example below.
You can see that some of the text pushes past the perimeter lines--meaning it will likely get cut off when putting the button together. The design is also very busy, with many clashing elements trying to grab your attention. All of these things will result in a button that can’t be easily read and rather messy over all.

PRINT & CUT
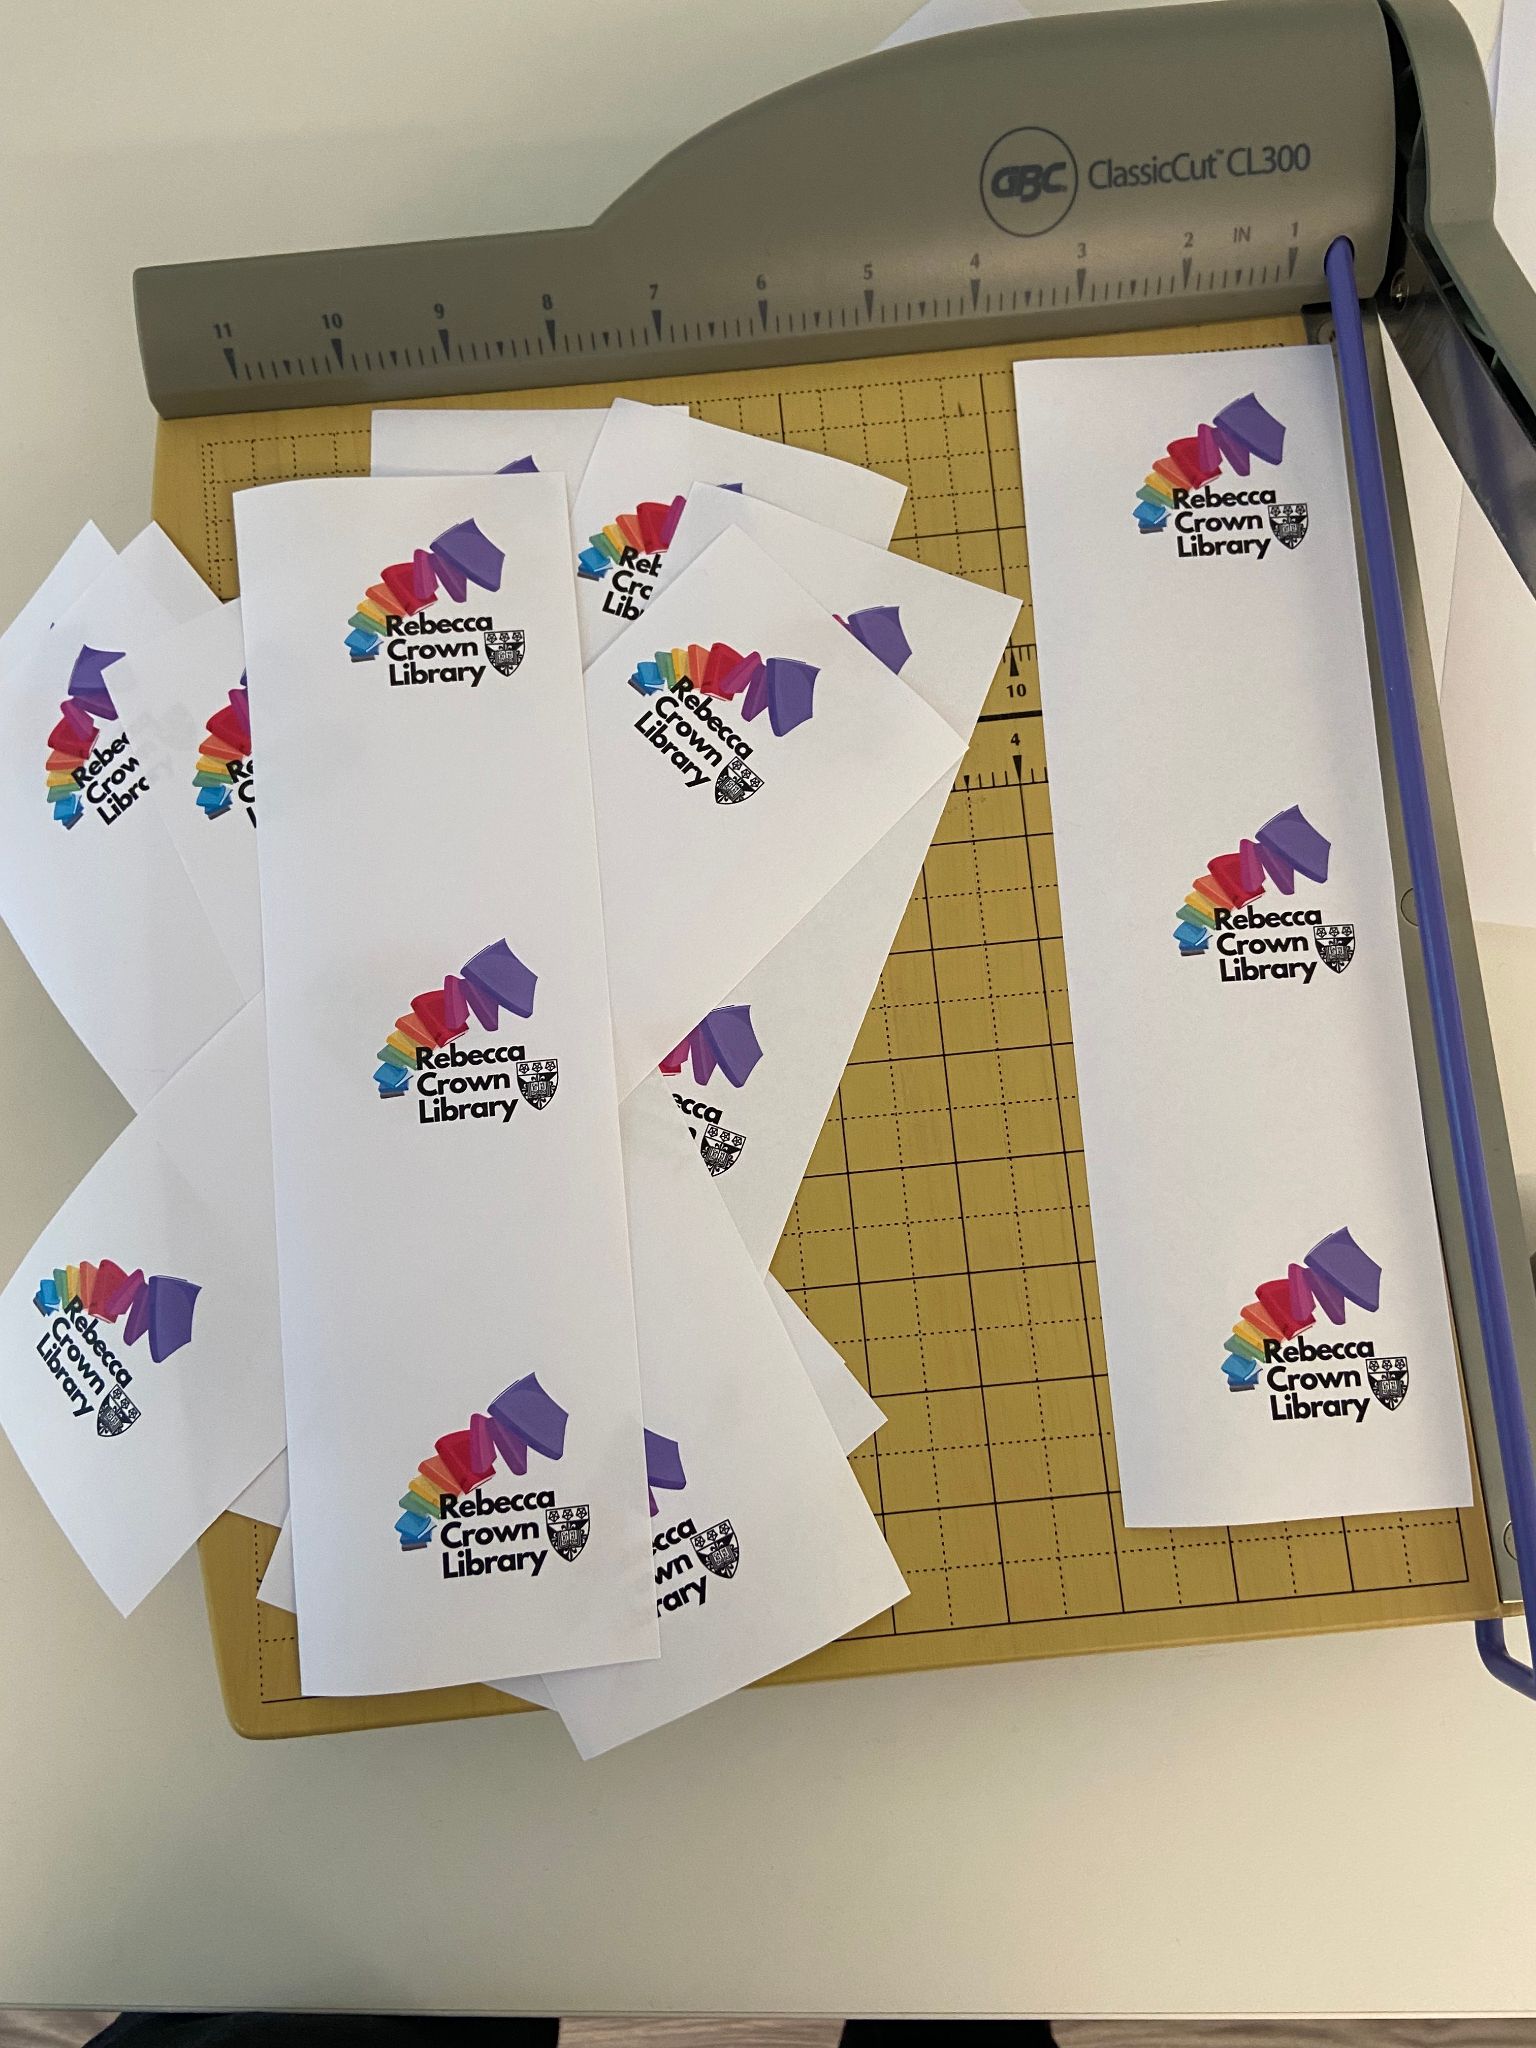
Once you have your design completed, you are ready to print! If you only plan to make one button it is still useful to print multiple copies of your design as backups. If you are making more than one button, arrange your designs on a sheet to get the most out of each print! You’ll want to be sure to leave enough blank space between each design to make cutting them out easier, as you can see in the example, a regular 8x10 sheet of paper can comfortably fit six buttons on it.


With your designs printed, let’s get to cutting! Cut each column into strips slightly wider than the diameter of your designs, making sure that the designs remain centered to make cutting them out easier. Run each strip through the cutting tool, centering each design one by one--when you have your design centered, press down on the lever to pop out your button design!


It’s OK if your designs are slightly off center after you have cut them out--you will likely have enough space to still get your full design on the face of the button, and if you had your colors extend to the cut line then you should be in great shape!
ASSEMBLY
With your designs cut out, you have made it to the final stretch! Take a moment to familiarize yourself with the different parts of the Button Maker, it’s pretty simple but it never hurts to be sure!
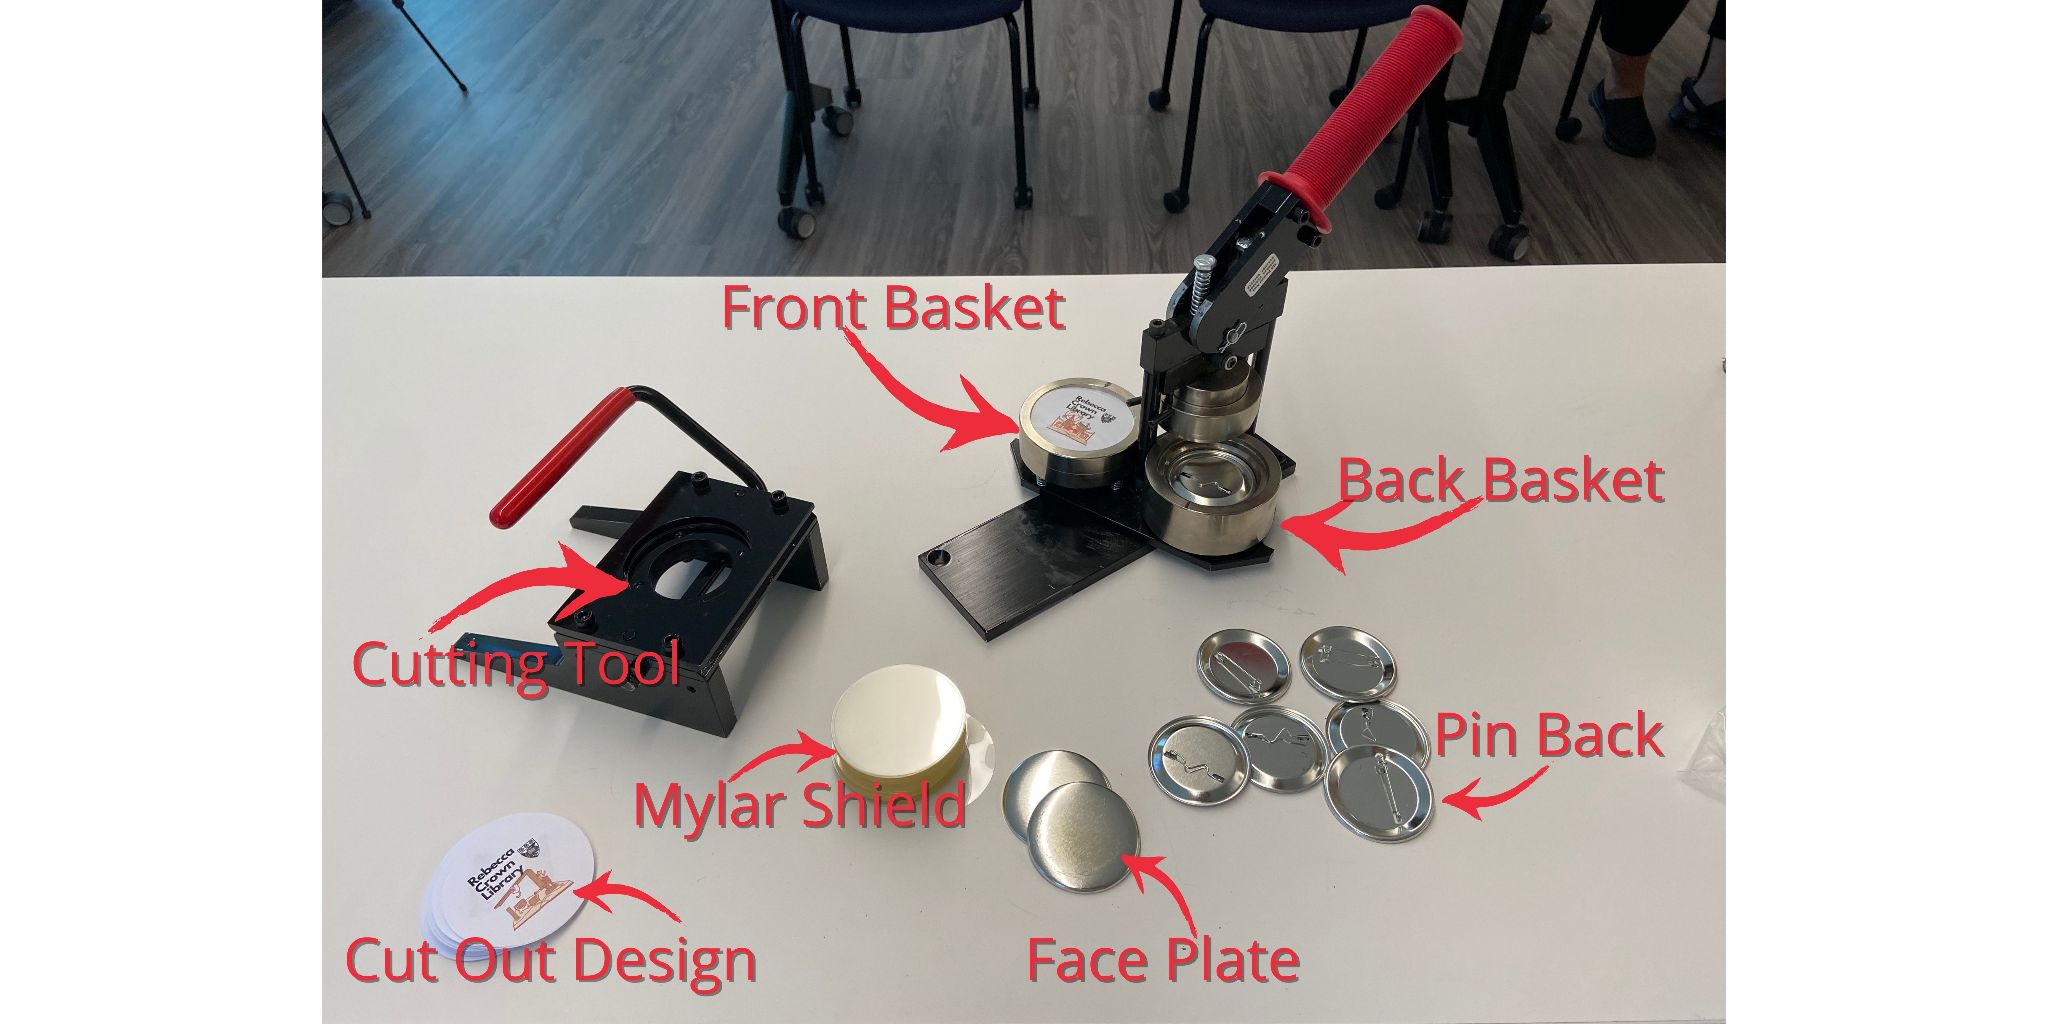
There are two baskets on a swiveling plate that you will be placing your materials in--one to assemble the front of your button and the other to assemble the back. There are lines marked on each basket that show where the top of the button will be--so make sure to have your pieces aligned correctly!

Turn the plate with the baskets so that it faces you horizontally. The basket on the Left is where you will assemble the Front of your button and the basket on the Right is for the Back. In the Front basket, layer a faceplate, then your design, followed by one of the mylar shields--making sure that the top of your design lines up with the marking on the basket we talked about previously. In the Back basket, place a pinback with the fastener side down--again, make sure the top of the pinback aligns with the marking on the basket (the fastener is closer to the top on the pinback than the bottom)


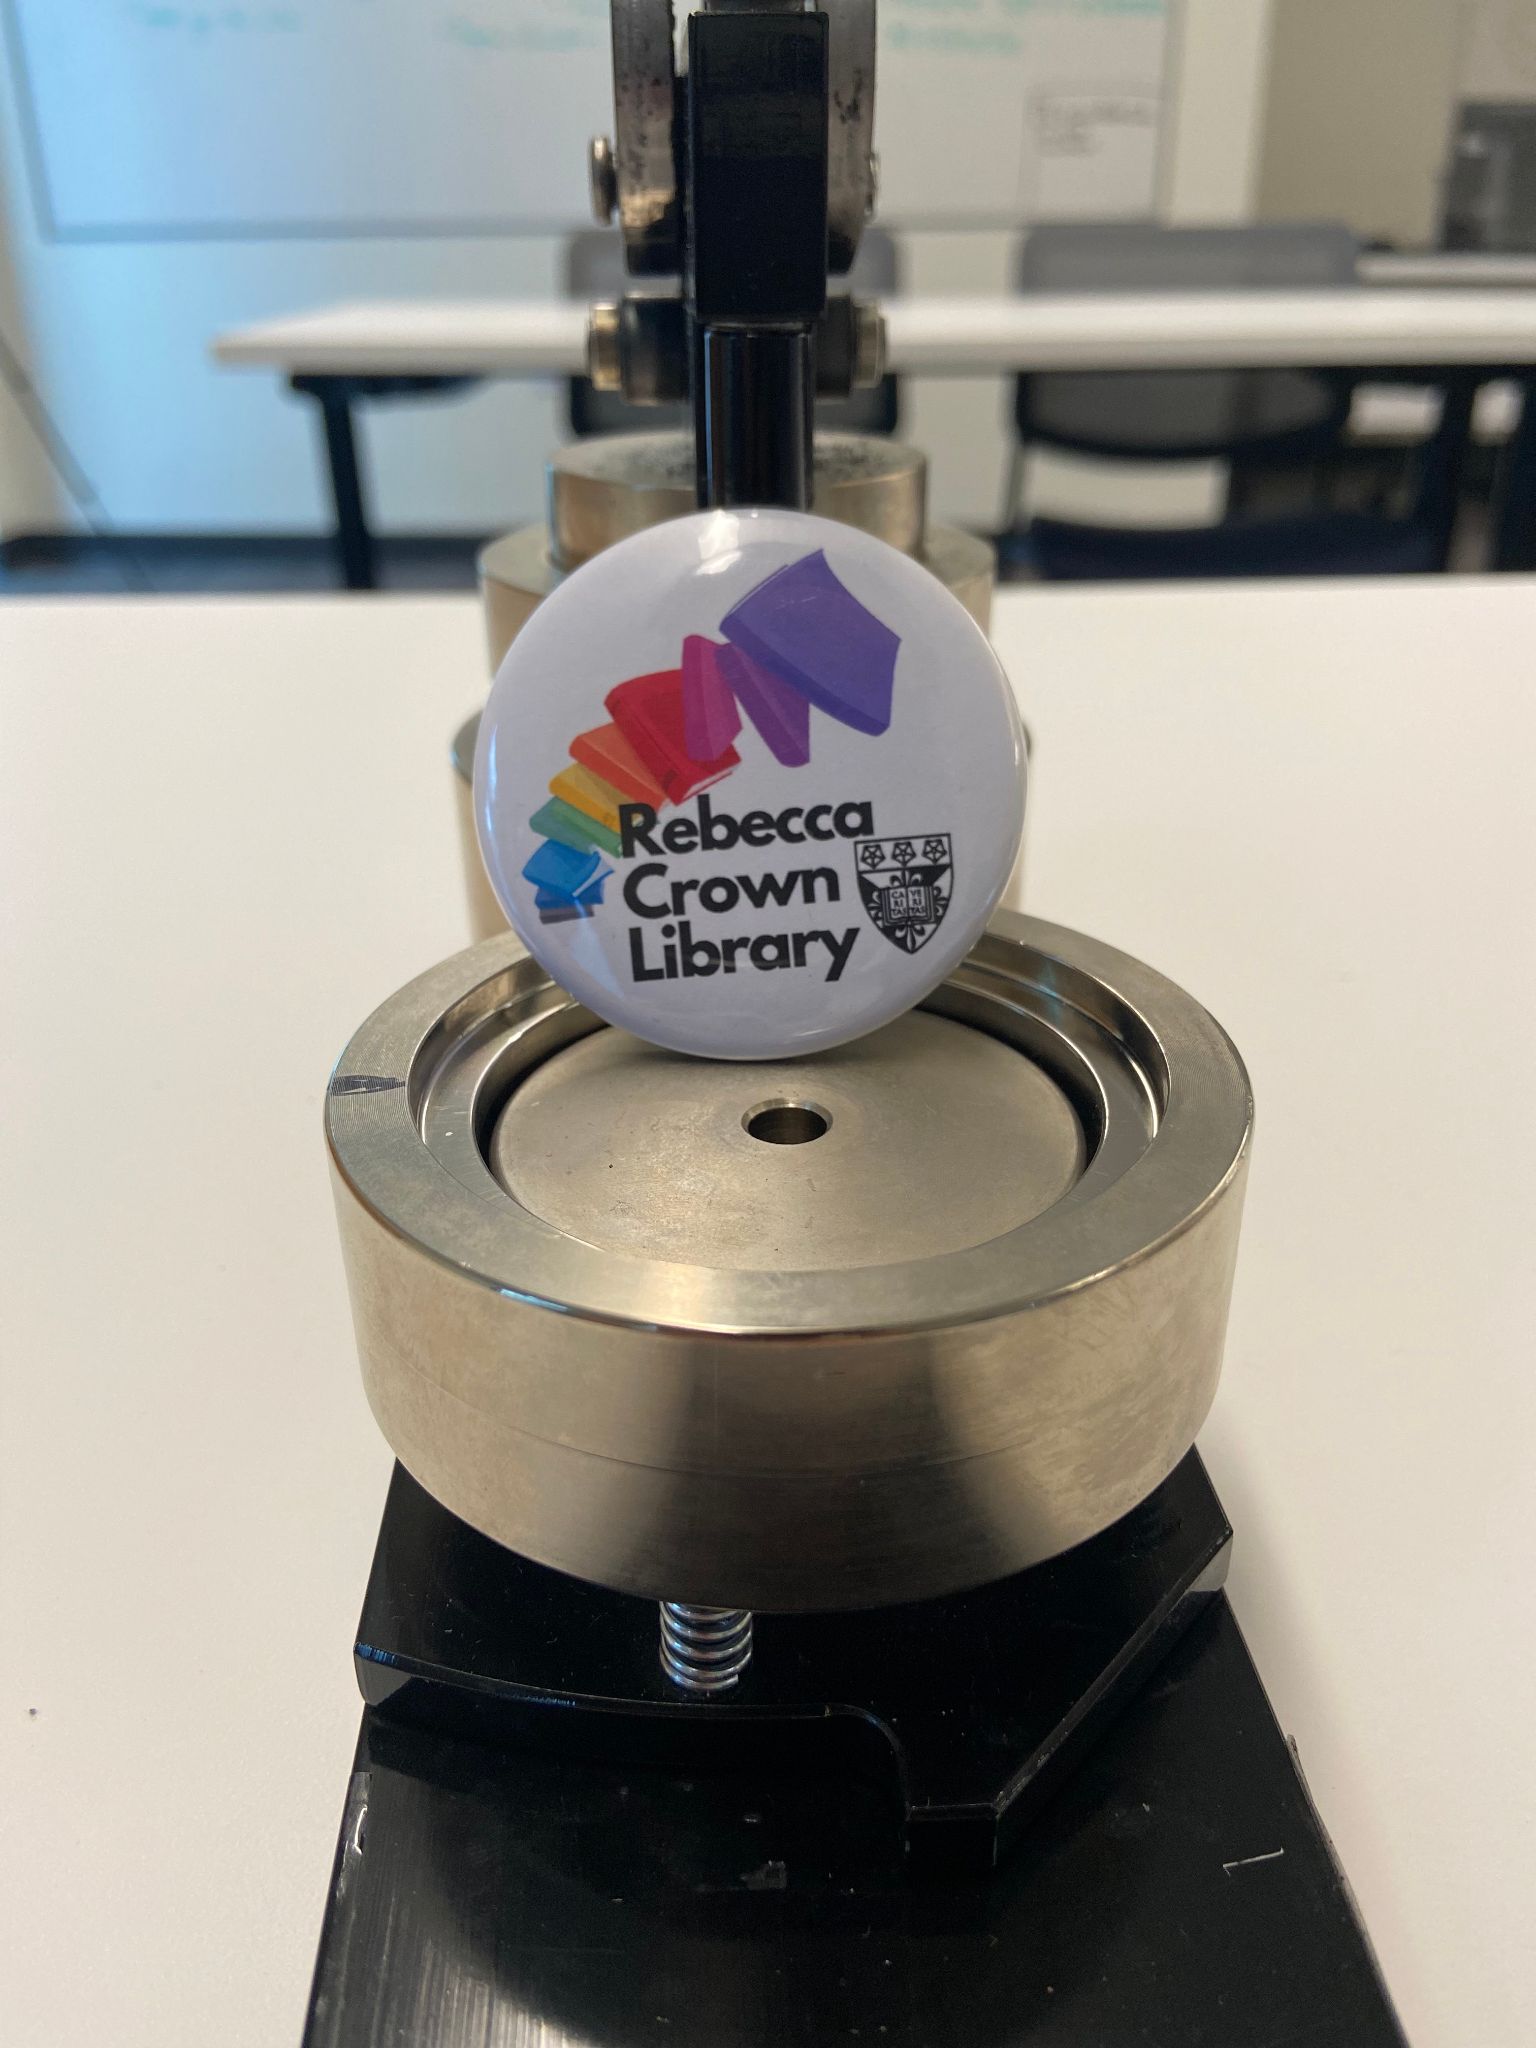
Once you have all of the pieces in place, swivel the Front basket beneath the arm of the Button Maker
Pull down the lever with firm even pressure as far as you can. You might hear or feel a slight ‘click’ once you have pulled far enough. Raise the arm back up, the pieces you assembled in the Front basket should no longer be there.
Troubleshooting: If those pieces are still in the basket, remove them and check the faceplate--if the rim has been bent, you will need to replace it with a fresh one, but if the rim has not been bent you are OK to use the same faceplate as you try again.
Next, swivel the plate around so that the Back basket is now beneath the arm of the Button Maker. Once more, pull the arm down with firm, even force--this will help prevent the mylar shield from bubbling at the edges of the faceplate.
Troubleshooting: If your buttons are coming out with bubbles around the edges or the mylar not fully sealed, try cleaning the machine (A solution designed for removing adhesives is recommended, but any cleaning solution should work.)
Raise the arm and you ought to see your finished button sitting right there in the basket! Pop it out and put that bad boy on your shirt, jacket, bag, or wherever you like!